
This time last year Jules and I were contemplating attempting the 31 day nail art challenge for the first time. We had watched bloggers from 2011 give it a go and the prospect of doing different nails every day for a month seemed daunting. I'm not going to lie, there were tears and drama queeny moments! But at the end of those 31 days I had tried a tonne of designs and was proud of what I had managed to do. So what's in store for the next 31 days...check it out!

But before we dive in the 2013 challenge let's take a look down memory lane. I had only started playing around with nail art 9 months previously so I had a lot to learn but some of my favourite designs that I have ever done came from the 2012 challenge.

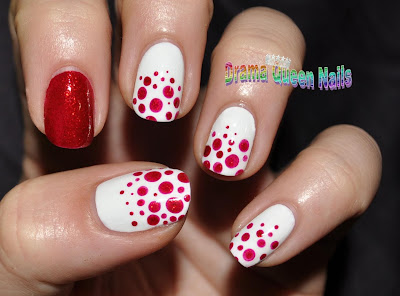
Day 1: Red


Day 14: Flowers

Day 15: Delicate print

Day16: Tribal Print


Day 24: Inspired by....a book. Snugglepot and Cuddlepie, an Aussie classic.


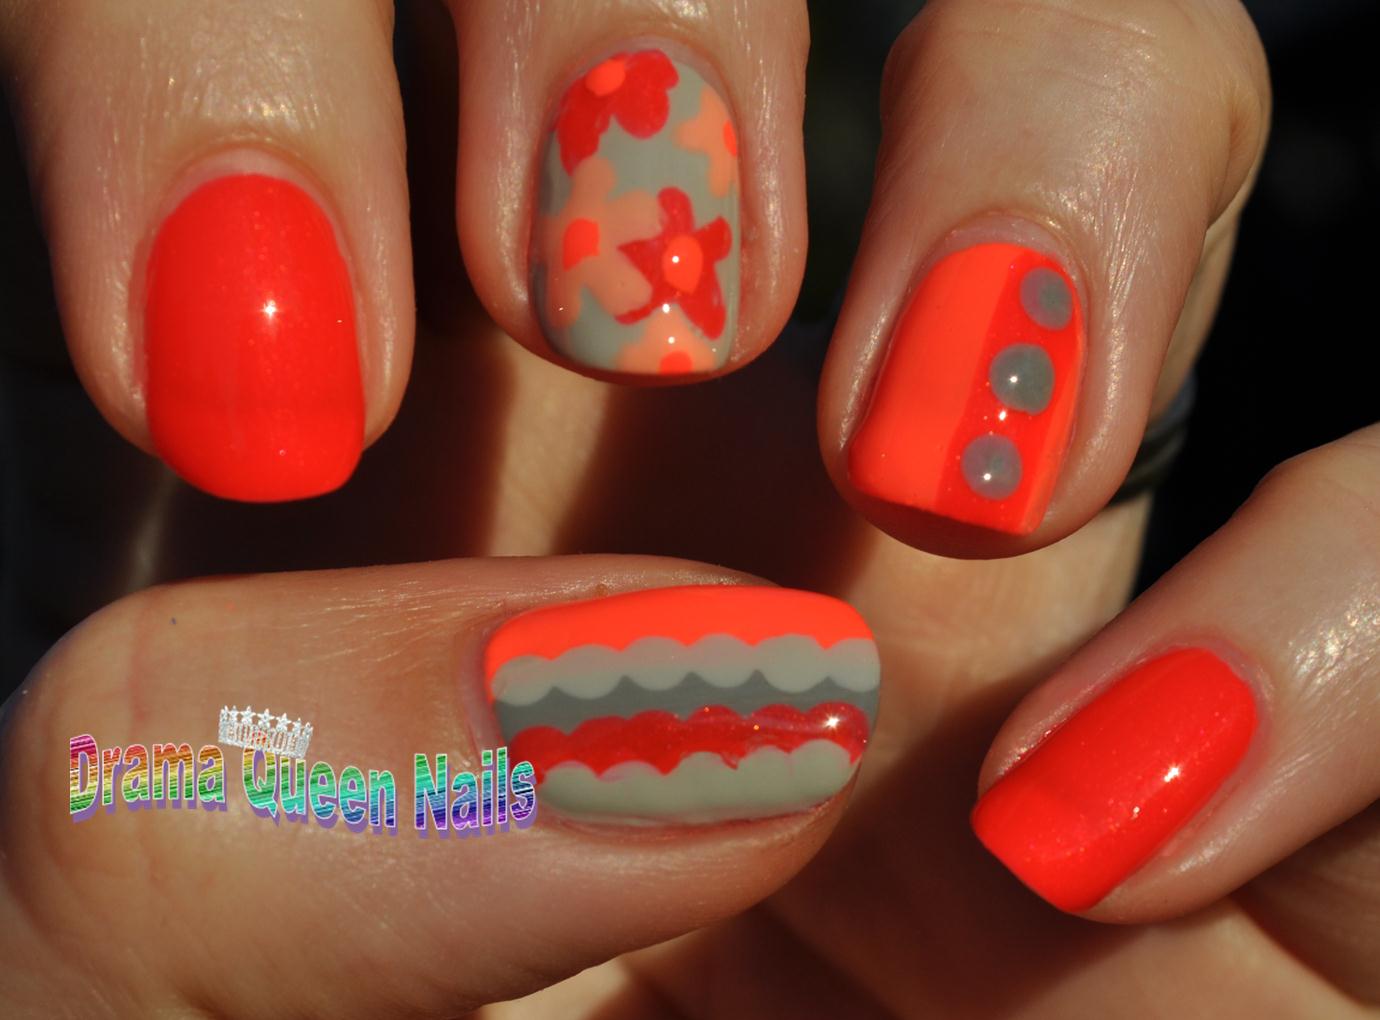
Day 2: Orange

Day 3: Yellow

Day 4: Green

Day 5: Blue

Day 6: Violet (Jules tag team!)

Day 7: Black and White

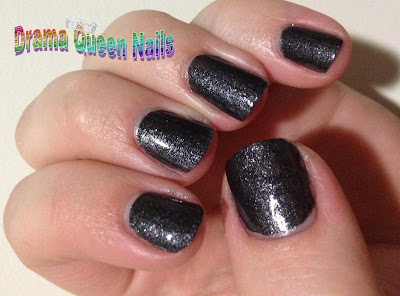
Day 8: Metallic Nails, another Julsie save.

Day 9: Rainbow

Day 10: Gradient and Day 11: Polka Dots

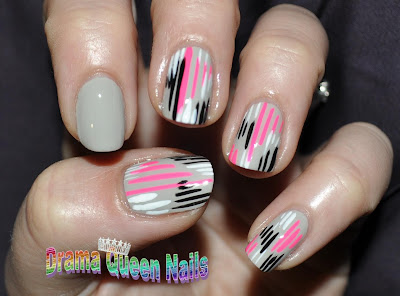
Day 12: Stripes. This is one of my all time fav designs. Maybe I should recreate it this year?

Day 13: Animal Print


Day16: Tribal Print

Day 17: Glitter (Julsie tag!)

Day 18: Half Moons

Day 19: Galaxy

Day 20: Water Marble ( I was so proud of myself for pulling this off because up until then I had only suffered epic water marbling fails. The fact I got the polish to spread in the water let alone create a design was a super happy nail moment.)

Day 22: Inspired by....a song. Lady Gaga - Heavy Metal Lover

Day 23: Inspired by....a movie. Totoro. Another all time fav design. These were so rad!

Day 24: Inspired by....a book. Snugglepot and Cuddlepie, an Aussie classic.

Day 25: Inspired by....fashion. Miranda Kerr is a goddess.

Day 26 Inspired by....a pattern. My bedspread inspired this design.

Day 27 Inspired by....art. Jackson Pollack Blue Poled

Day 28 Inspired by....a flag. Japan!

Day 29 Inspired by....the supernatural. Aliens. This is when I fell in love with Barry M Silver Stamping Foil. Made me want to stamp again.

Day 30 Inspired by ....a tutorial. This is first time I had tried using craft scissors and tape. I much prefer the decal method now.

Day 31: Honour nails you love. Manicure Mommie on IG did this originally and I couldn't wait to try it...loved this mani.
I hope you guys enjoyed looking at all our designs from last year's challenge. If you are thinking about joining in this year tag your pics with #31dc2013 You don't have to do every day, just join in on designs you like. Or take the plunge and dive right in! I'm so excited to see what everyone comes up with this year.
Follow DQN on the #31dc2013 on Facebook, IG, Tumblr, Twitter and of course here on the blog. I'm so pumped!!
Special thanks to Chalkboard Nails for creating some awesome graphics for this year's challenge.


